₦0.00

Introduction:
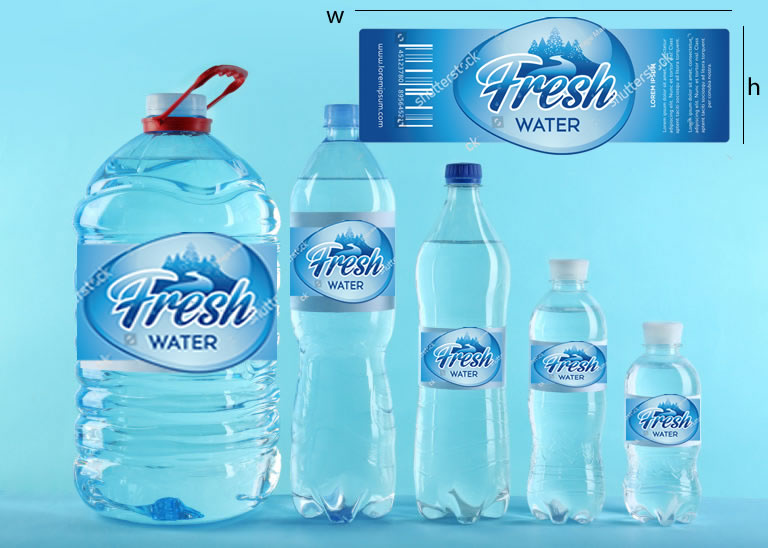
When it comes to printing labels for bottle water, accuracy is crucial. Measuring labels correctly ensures a perfect fit and a professional appearance. In this blog, we’ll walk you through the steps to measure labels for bottle water label printing.
Method 1: Using the tape directly
Step 1: Measure the Bottle
Measure the circumference of the bottle using a flexible tape measure or a piece of string. Wrap the tape or string around the bottle, overlapping the ends by about 1 inch. Take note of the measurement in inches or centimeters.
Step 2: Determine Label Size
Based on the bottle circumference, determine the label size. A general rule of thumb is to add 0.5-1 inch (1-2.5 cm) to the circumference measurement. This allows for a slight overlap and easy application.
Step 3: Measure Label Height
Measure the height of the label area on the bottle. Typically, this is the distance between the shoulder and the bottom of the bottle.
Step 4: Record Measurements
Record the label size (width and height) in inches or centimeters. For example: 8 inches x 4 inches (20 cm x 10 cm).
Step 5: Design and Print
Use your measurements to design and print your labels. Ensure your design software is set to the correct dimensions, and print a test label to verify the fit.
Method 2: Use of A4 paper
Step 1:
Take an A4 page and wrap it around the bottle
Step 2
Mark off with a pen, where it comes together.
Step 3
Lie the A4 page back onto the table and measure it with a ruler, where you made the markings.
This would measure the width of your label.
Step 4
Measure the appropriate height for the label with the ruler on the same A4 page.
Step 5:
Place the width and height measurements into our online calculator and type in the quantity of labels you need.
Conclusion:
Accurate label measurement is crucial for a professional finish. By following these steps, you’ll ensure your bottle water labels fit perfectly, making your product stand out on store shelves. Happy printing!